
Dealing with sciatica and disc pain can be incredibly debilitating, affecting your daily life and overall well-being. Finding effective ways to alleviate the discomfort and promote healing is essential. In this blog, we’ll explore a valuable resource from San Diego Chiropractic Neurology— a video titled “Top 3 Low Back Decompression Stretches for Sciatica and Disc Pain – Part 1.” These stretches offer a holistic approach to managing and alleviating the symptoms of sciatica and disc-related issues.
Understanding Sciatica and Disc Pain
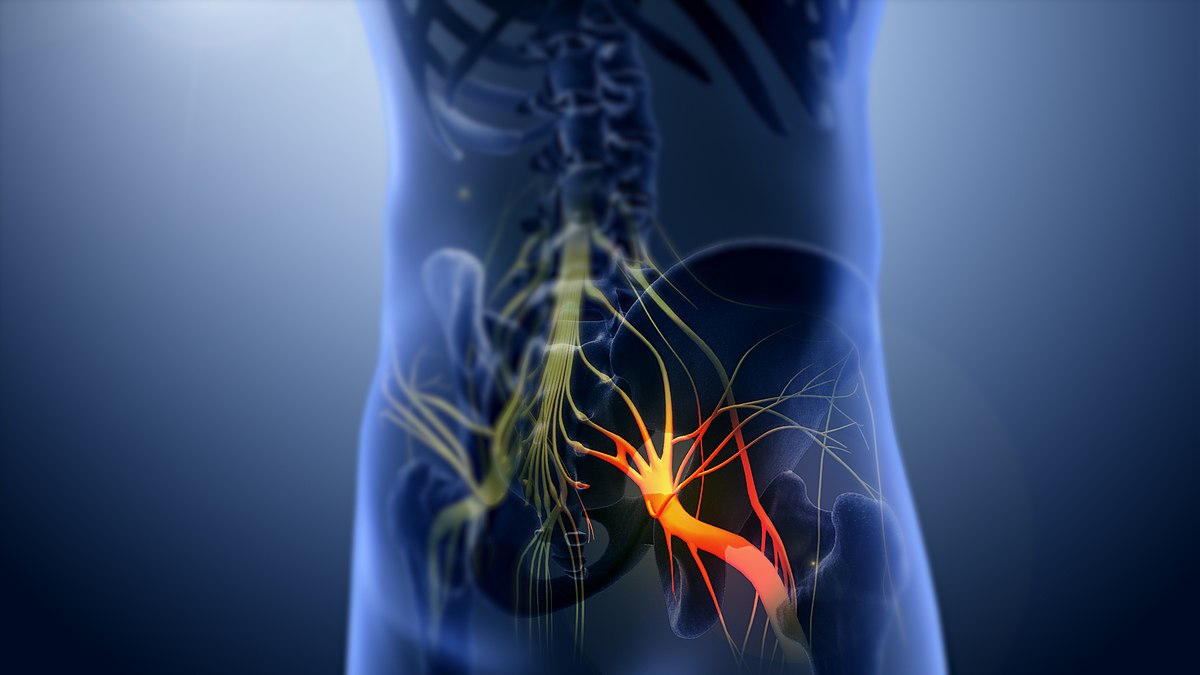
Sciatica is a term used to describe pain that radiates along the path of the sciatic nerve, which runs from the lower back through the hips and down each leg. It is often caused by compression or irritation of the sciatic nerve due to a herniated disc, spinal stenosis, or other underlying spinal conditions. Sciatica can manifest as sharp, shooting pain, numbness, tingling, and weakness in the affected leg.
Low back disc pain is typically associated with issues in the spinal discs, which act as cushions between the vertebrae. When a disc herniates or bulges, it can press on nearby nerves, causing pain and discomfort in the lower back and down the legs.

The Importance of Decompression Stretches
Decompression stretches are a valuable tool for individuals suffering from sciatica and disc pain. These stretches focus on elongating the spine, creating space between the vertebrae, and relieving pressure on the nerves. They can help improve circulation, reduce inflammation, and promote healing in the affected areas.
Top 3 Low Back Decompression Stretches – Part 1
San Diego Chiropractic Neurology’s video introduces viewers to three effective low-back decompression stretches designed to target sciatica and disc-related pain. While the video provides a visual guide, let’s briefly outline these stretches:
Standing Lumbar Decompression Stretch:
Instructions:
- Set Up Your Position:
- Stand in an open space with your feet positioned hip-width apart.
- Engage your core slightly to provide support to your spine and lean forward
- Proper Angle Placement:
- Turn your body sideways to a profile view. The demonstration will be performed from this angle.
- Place the heel of your palms between the top of your thigh and the bottom of your abdomen, at that diagonal null area.
- Repeat this hand placement on both sides.
- Initiate the Stretch:
- Gently lean your upper body forward while keeping your legs straight.
- As you lean forward, your palms should be in the same position, sandwiched between your thigh and abdomen.
- Apply a gentle but steady pushing motion through your palms, creating a vector that extends forward and through your thighs.
- Experience the Traction:
- As you push through your palms, you’ll begin to feel a gentle traction along your spine. This motion helps open up the spaces between your vertebrae, promoting decompression.
- Keep your movements controlled and avoid sudden jerks or overexertion.
- Maintain for 30 Seconds:
- Hold the stretch and pushing motion for approximately 30 seconds.
- During this time, you might start to feel a release of tension and discomfort in your lower back. Some individuals even experience instant relief.
Laying Lumbar Decompression Stretch:
- Set Up Your Position:
- Begin by lying flat on your back on a comfortable and supportive surface, such as a yoga mat or carpet.
- You can choose to keep your knees bent or straight, depending on your comfort level. Experiment with both positions to find what works best for you.
- Hand Placement:
- Similar to the standing variation, hand placement is crucial. Reach down to your sides and position the heel of your palms between the top of your thigh and the bottom of your abdomen, within that diagonal null area.
- Initiate the Stretch:
- Gently apply pressure through the heel of your palms, pushing straight down towards the floor.
- Unlike the standing version, this time the vector is directed downwards. The goal is to create gentle traction that promotes space between the vertebrae in your lower back.
- Appropriate Pressure:
- As mentioned earlier, it’s important to note that you only need to apply about 30 percent pressure during this stretch.
- Applying more pressure is unnecessary and might even lead to discomfort or strain.
- Hold the Stretch:
- Maintain the pushing motion for around 30 seconds. During this time, you should feel the gentle stretching sensation in your lower back.
- Many individuals experience instant relief as the stretch helps to alleviate pressure and tension.
- Relax and Repeat:
- After the allotted time, gradually release the pressure and remove your hands from the placement.
- Take a moment to relax and breathe deeply, allowing your body to adjust.
Facedown Lumbar Variation
Instructions:
- Prepare Your Space:
- To begin, find a comfortable surface where you can lie face down. This could be a bed, a yoga mat, or even the floor. Ensure you have enough space to stretch out comfortably.
- Utilize a Pillow:
- Place a pillow under your pelvis for added comfort and support. This elevation can help enhance the effectiveness of the stretch.
- Hand Placement:
- The hand placement in this stretch is unique. Begin by lying face down, and then position your hands in a specific way to target the lower back.
- Hand Placement Technique:
- With your palms facing down, place your thumbs on your lower back just above your hip bones.
- The rest of your fingers should be pointing towards the front of your body, resting on the area just below your waist and above your hip bones.
- Essentially, your hands will create a bridge-like shape across your lower back, with your thumbs at the back and your fingers at the front.
- Initiate the Stretch:
- Gently press through your hands, applying pressure towards your feet.
- The direction of the pressure is the same as the previous stretches, aiming to create gentle traction and open spaces between your vertebrae.
- Experience the Relief:
- As you apply this pressure, you should feel a stretching sensation in your lower back. This sensation signifies that the decompression is working to alleviate pressure on your spinal discs.
- Duration and Comfort:
- Hold the stretch for around 30 seconds. During this time, pay attention to how your body responds. If you feel discomfort, adjust the pressure or hand placement as needed.
- Release and Relax:
- Gradually release the pressure and remove your hands from their position.
- Take a moment to relax and breathe deeply, allowing your body to absorb the benefits of the stretch.